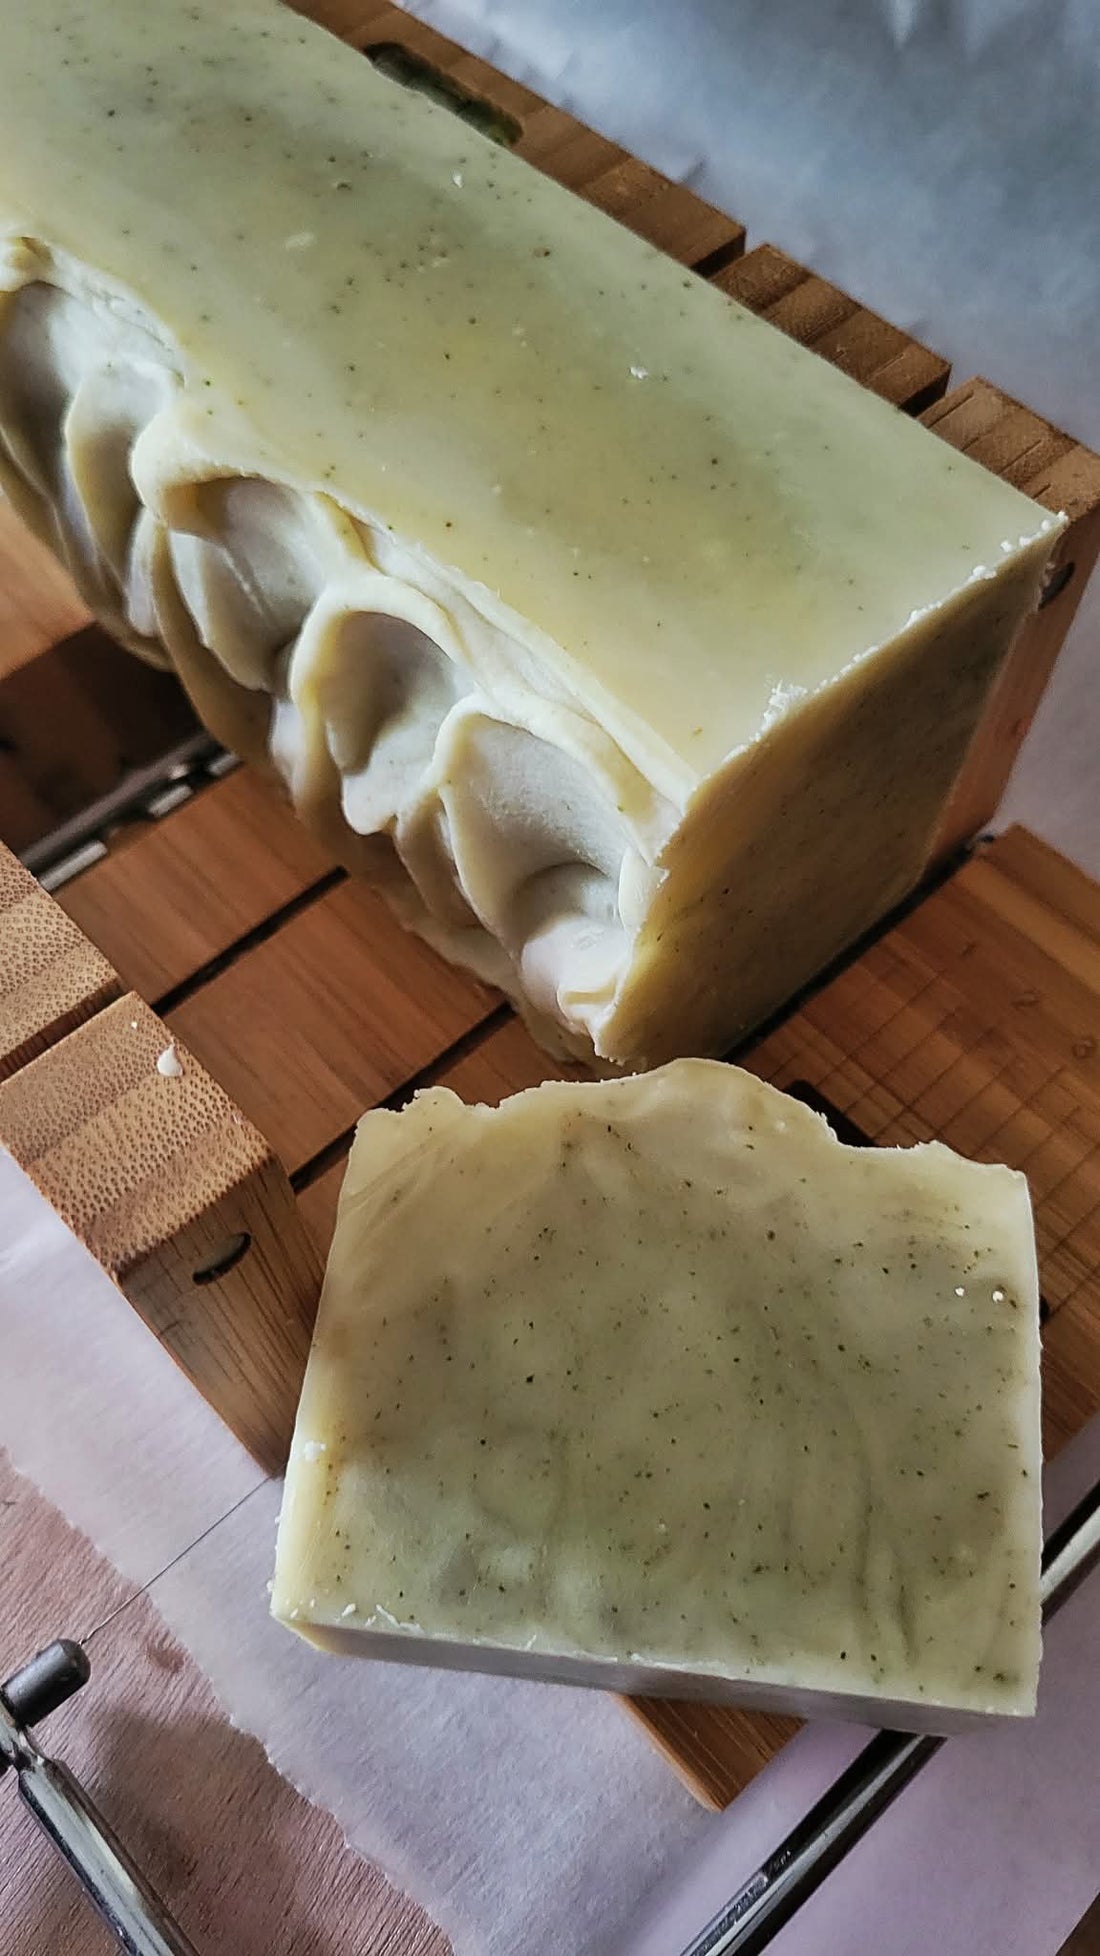
Understanding the Gel Phase in Cold Process Soap
If you’ve ever made cold process soap and noticed that some batches look brighter, glossier, or slightly translucent in the center, you’ve just witnessed the gel phase! It’s one of those fascinating moments in soapmaking chemistry that can make or break your final look, and understanding it helps you take full control of your craft.
What Is Gel Phase?
During the soapmaking process, your oils and lye water react through saponification — the chemical process that turns fats into soap. As this reaction happens, heat is naturally produced.
When that heat builds up inside your mold, the soap can enter what’s called the gel phase, where it becomes hot, jelly-like, and more translucent before cooling and hardening again.
You’ll often notice:
A darker or more vibrant color
A slightly glossy, gel-like center
A warm, almost glowing appearance inside the loaf

Why It Happens
Gel phase is caused by heat — both from the saponification reaction and from how you insulate (or don’t insulate) your mold.
Several factors affect whether your soap gels fully, partially, or not at all:
Recipe composition: High-sugar, honey, or milk soaps heat up more.
Mold type: Wooden molds hold heat; silicone or plastic molds cool faster.
Room temperature: Warmer environments promote gel.
Insulation: Wrapping your mold in a towel or placing it in a warm oven encourages full gel. Leaving it uncovered discourages it.
Full Gel vs. Partial Gel vs. No Gel
Full Gel: The entire loaf goes through the gel phase, creating rich, vibrant colors and a slightly translucent bar. Many soapmakers prefer this look.
Partial Gel: Only the center of the soap gels, leaving a darker middle and lighter “ring” around the outside — often called a gel ring. It’s purely cosmetic but can affect the visual consistency of your bars.

No Gel: The soap is kept cool to prevent gel phase, producing a more matte, creamy appearance. This is especially desirable in milk soaps or pastel designs where high heat can discolor or scorch ingredients.
How to Control Gel Phase
To Encourage Gel:
Use a wooden mold or wrap your mold in a towel.
Place your soap in a pre-warmed (not hot!) oven around 140°F (60°C) and turn it off — a trick known as CPOP (Cold Process Oven Process).
Avoid refrigerating or freezing your batch.
To Prevent Gel:
Use individual cavity molds that allow faster cooling.
Place your soap in the refrigerator or freezer right after pouring.
Avoid ingredients that generate excess heat like honey or sugar.
Does Gel Phase Affect the Final Soap?
In terms of cleansing, lather, and moisturizing properties — not really!
Gel phase is mostly aesthetic. However, it can slightly affect texture and cure time: gelled soaps tend to harden faster and may reach full cure a bit sooner. Non-gelled soaps, while softer at first, are just as effective after curing